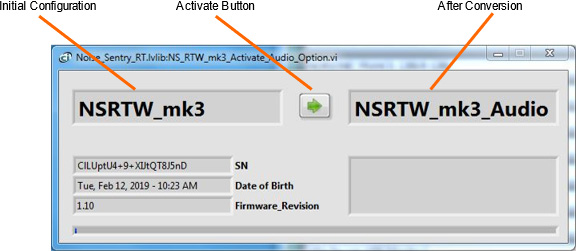
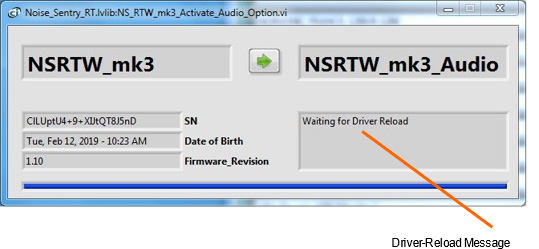
The USB Audio Option allows the instrument to be recognized by the host computer as a USB Microphone.
That option is useful to users who want to:
The USB-Microphone interface streams a mono audio signal, like any standard USB microphone, except the pressure signal is calibrated in Pa and weighted by the selected weighting function (A, C or Z).
Some hosts (for instance Windows) will attempt to take control of the USB microphone as soon as it is connected to the host. In some situations that can lead to issues, including a termination of an ongoing recording of levels. This occurs when the host attempts to change the sampling frequency of the instrument to one that is different than the one currently in effect. Because it is mandated by the USB audio specification, the instrument has no choice but to comply with the USB request. If the instrument was already recording at a different sampling frequency, this may lead to a transient due to the switch, or a termination of the ongoing recording, depending on the firmware of the instrument. In order to avoid that situation one can deselect the instrument as the default USB recording source on the host, or set it to the same sampling frequency as the sampling frequency used to record the levels.
If you purchased the Audio option separately from the instrument, refer to the following web page for installation instructions.
Don’t hesitate to contact [email protected] if you have any question.
There are two cases:
| Formats | PCM 16-bit integer, IEEE 32-bit float |
|---|---|
| Sampling rates | 32 kHz, 48 kHz |
| Volume and Mute | Volume and mute can be adjusted through the audio interface. The volume has no effect when the IEEE float format is chosen. In that case the sample values represent the sound pressure, scaled in Pa, irrespective of the value of the Volume control. |